2022-09-20 14:08:06 1780
1、Please prepare those following tools when you would like to install touch screen monitor:
For example:
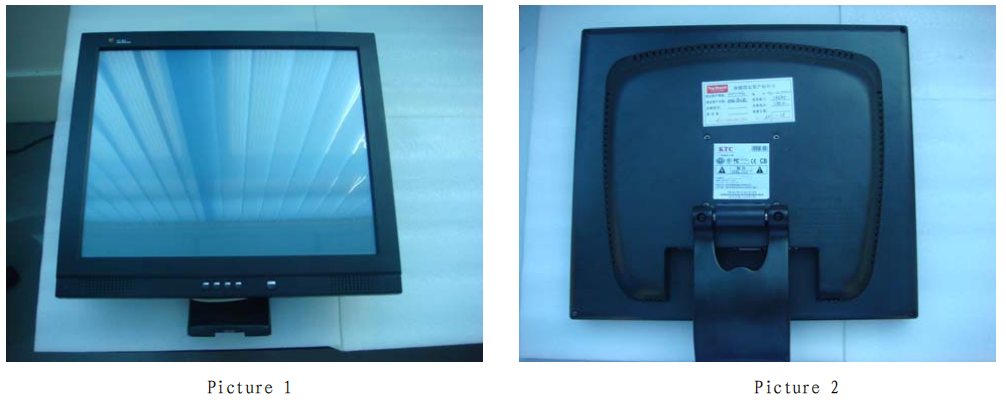
Screwdriver, Double glue tape; unprofitable bank Card;Knife;non-dust cloth;electric iron;Box; pearl wool;washing agent;Etc. Please look at following Picture 1 and 2 for the front and back of Monitor;
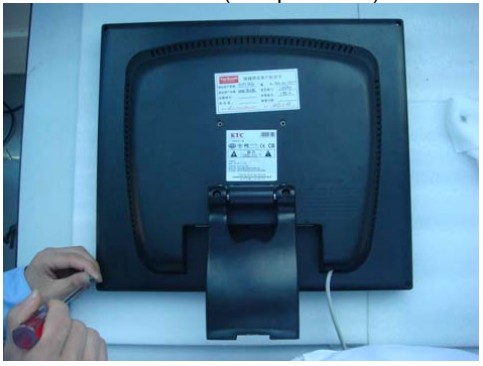
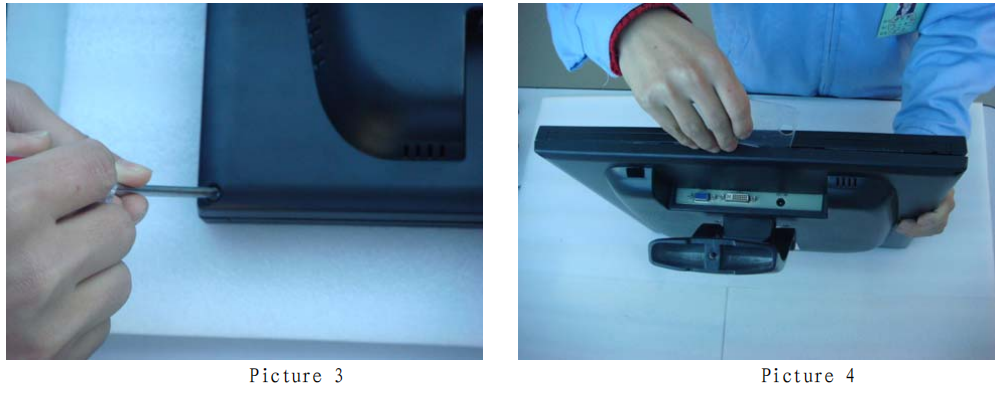
2. Firstly,Please let the monitor face-down on the Pearl wool so that we can’t break LCD Screen, And loosen the screws on the back of Monitor, and put all screws together in the same place so we can find them easily.(Like Picture 3), Then use unprofitable bank Card to open the back of monitor.(Like Picture 4 and 5)
Note: When you want to open the back of monitor, Please do like this from the bottom of
monitor ,to the side and to the top of monitor.
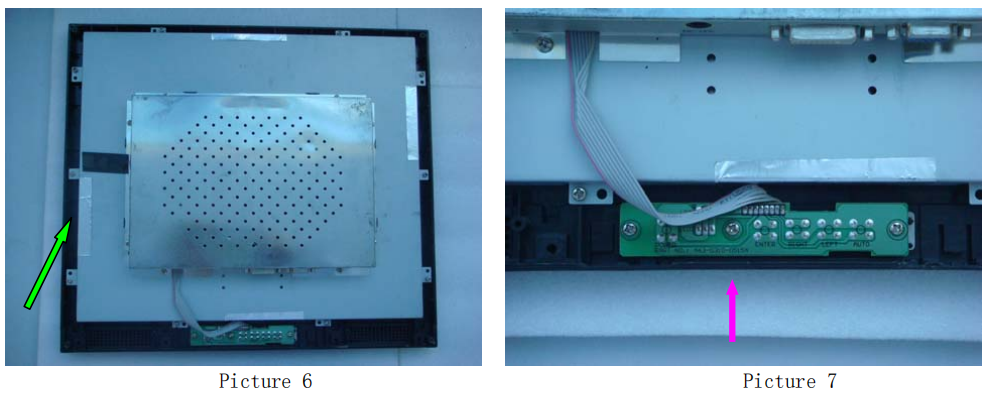
3.Please also loosen the screws in the monitor inside.
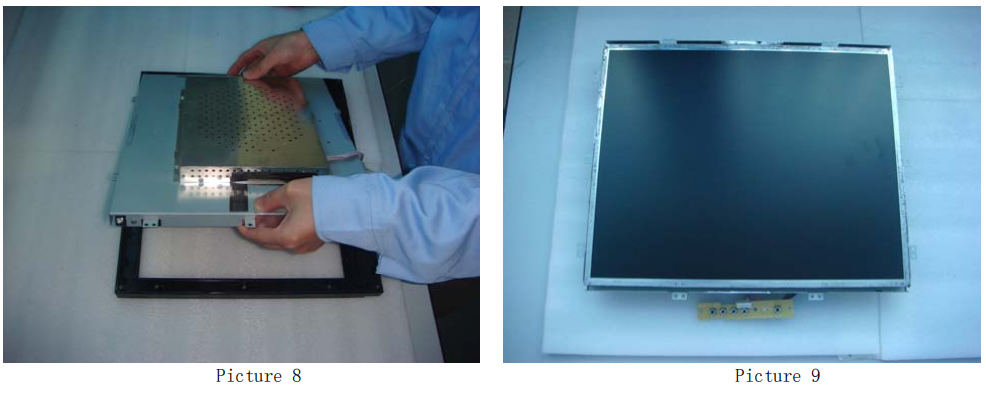
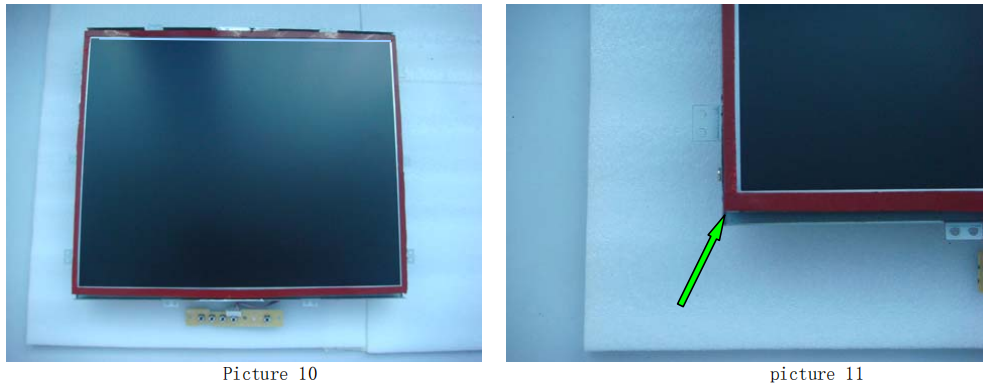
4.Please take off LCD Module(Like picture 8) and keep it in the safe as Picture 9 showing. Then be careful to attach double glue tape to the four side of the monitor.(Like picture 10). And Please remember that don’t stick the double glue tape on the touch area.(Like picture 11).
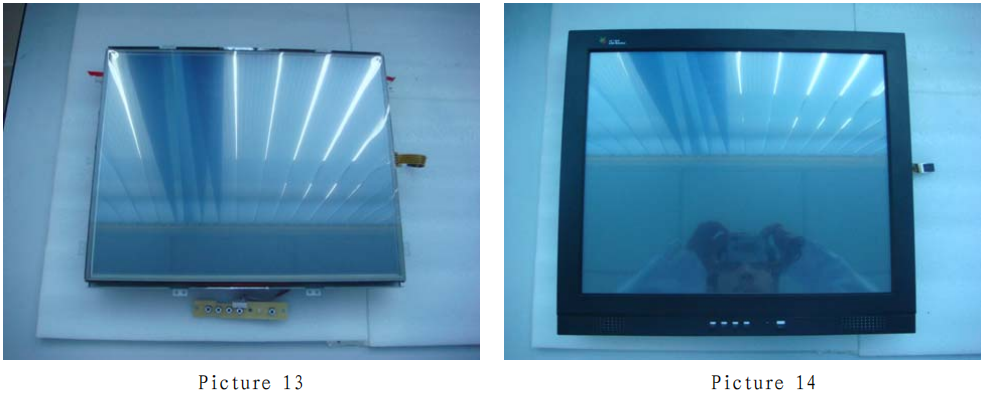
5. Please make sure the surface of LCD Screen is clear, If it is dirty, Please use washing agent to wipe off the dirty port. Then let 4-wire touch screen to close the LCD screen as possible as we could,(Like picture13) and the FPC of touch screen should be right.(Like picture 14).Because this can confirm if we put the front of touch screen onto the monitor.
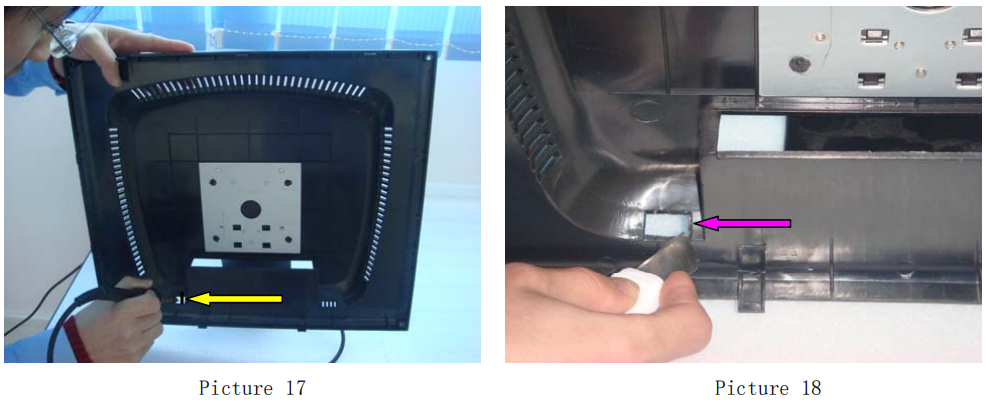
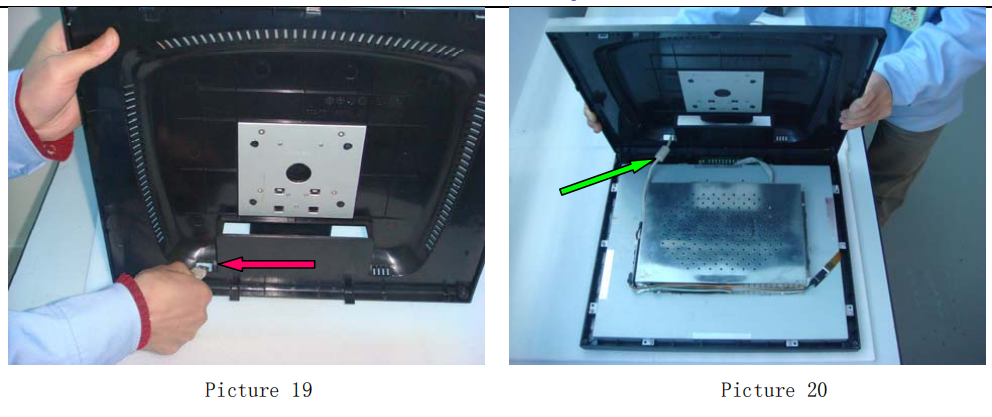
6. Please lay the connection cable of touch screen over the LCD Module Back side and attach the controller with Double gule tape on the free space on the back of LCD Module.(Like picture 20 and 21)
7. At last, Please put the lid of the back of monitor back and tighten the all screws, Then the installation is finished. (Like below picture)
